The Way to Achieve a Perfect Product Lifestyle Photography
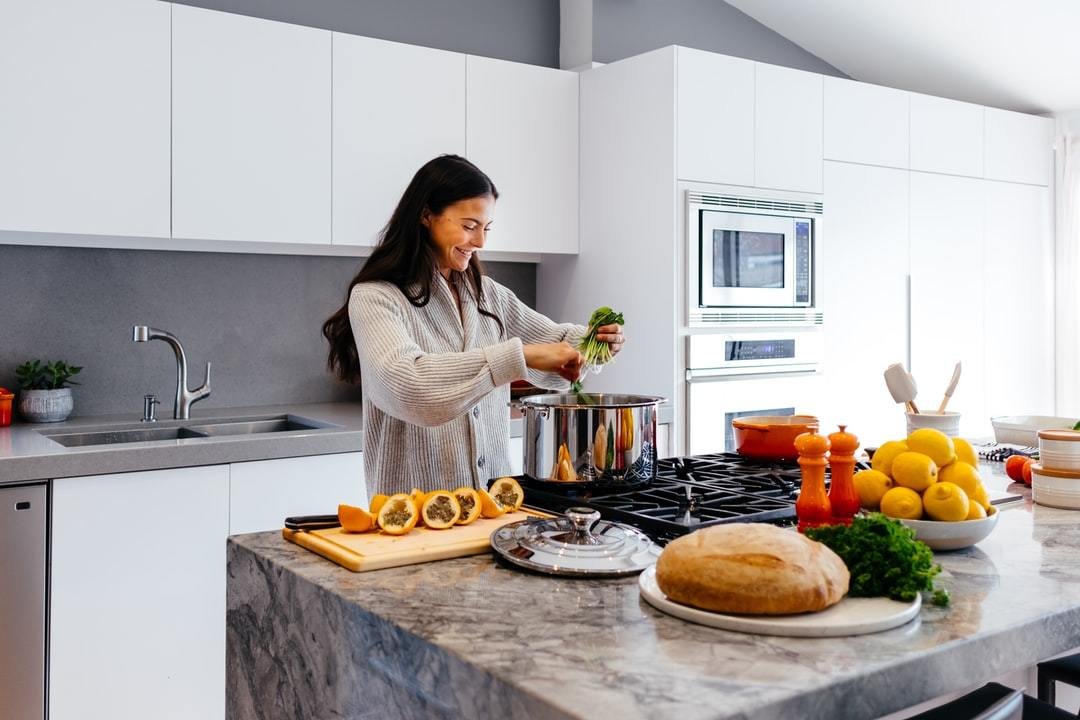
There is a big difference between lifestyle product photography and studio regular photography. When a person is doing lifestyle product photography, he or she is after showing and demonstrating the real-life application of the product. When you compare the plain background and lifestyle photos, the later does best in demonstrating the real-life application of the product. To create perfect lifestyle images, you have to do many things. Having known what the lifestyle images are, it is not time to take your camera and start shooting the pictures professionally. Here is a guide through lifestyle product photography.
The primary step you need to do is prepare for the shot considering if the product requires touchups or not. Here, you need to remove all the dust that can be within the product. You need to make the product have their shape in real life, for example, filling of bags. After that, it is now time to look at the gear you are going to use together with the other equipment in the shooting process. For background compression, a telephoto lens is needed while standard lens to make the image appear normal. The lens you are going to use is important.
The location of the shooting need to be arrived at concerning the product context. This is to say that the nature of the product determines either outdoor or indoor shooting location. When doing an outdoor shooting, you need to make good use of the nature including the natural light. For indoor shooting, you need to carry along off-camera lighting gadgets. Product setup with or without the models is the other step you need to consider. Here you need to exhibit the product by making sure it is given attention. Hire the best product lifestyle photography professional here: https://www.resultsimagery.com/services/lifestyle-product-photos.
It is now the moment to look at lighting and adjust accordingly. When you are using natural light, you need to make sure the camera faces in a direction that will not produce shadows on the product. A natural appearance of the product need to be realized. Continuous light or flash need to be used if you are using the artificial light system. Now, after making sure lighting is correct, without wasting time it is now to take the actual images as many as possible. When taking the actual pictures, it is important to see the exposure of the light source you are using.
Finally, it is now time to get the perfect photo editing tools and start the editing task which is an interesting task for you since you have no boring images to edit. You don’t have to over-edit the images, and this means that the images need to have a natural look and with relevant inserted texts making the image stylish. For more information, click on this link: https://en.wikipedia.org/wiki/Photography.
